


Good morning and Happy Friday! (whoot whoot)
One of the things that I am constantly searching for when doing kids rooms is finding fun and creative ways to eliminate clutter. As I've said before many times, I hate clutter! The balance is finding ways to display and conceal all the things that kids have, and today's post is about just that!
I completed the EASIEST and QUICKEST DIY project ever and I couldn't be happier. Seriously, this one packs so much style and it was so easy. It takes less that 15 minutes to complete.

Here is a step by step tutorial on how to make your own upholstered cork board.
What you'll need:
-Cork Board
-Fabric of choice cut with about 2" around on all sides. **I used the Waverly Modern Essentials in Lilac from Joanne's which was 40% off and paid $11.00 for 1 yd.
-Spray adhesive
-Nail Heads. I used the connected nail heads which made a very even clean straight line. You can use individual nail heads or even silver thumb tacks, but you will have to apply them one by one and you will have to make sure they are really straight.
-Staple gun or hot glue gun
-Scissors
Step 1:
Start with your cork board making sure to remove everything ;). Here was the one I started with.

Step 2:
Lay your board on the fabric to figure out where your placement is with your fabric or if you want a specific design to be centered, then spray your adhesive all over the cork board and the frame.

Step 3:
Lay your fabric over your cork board and smooth away all the lumps on the actual cork and pull it over the frame of your board.
Step 4:
Start to place your nail heads along the inner cork board against the frame. I secured a nail head in each corner to make it extra tight.

Step 5:
Turn your whole board over laying face down and staple it along all edges pulling the fabric taught as you go along. Then trim your excess fabric off your board. **If you don't have a staple gun you could use a hot glue gun.

FINISHED!

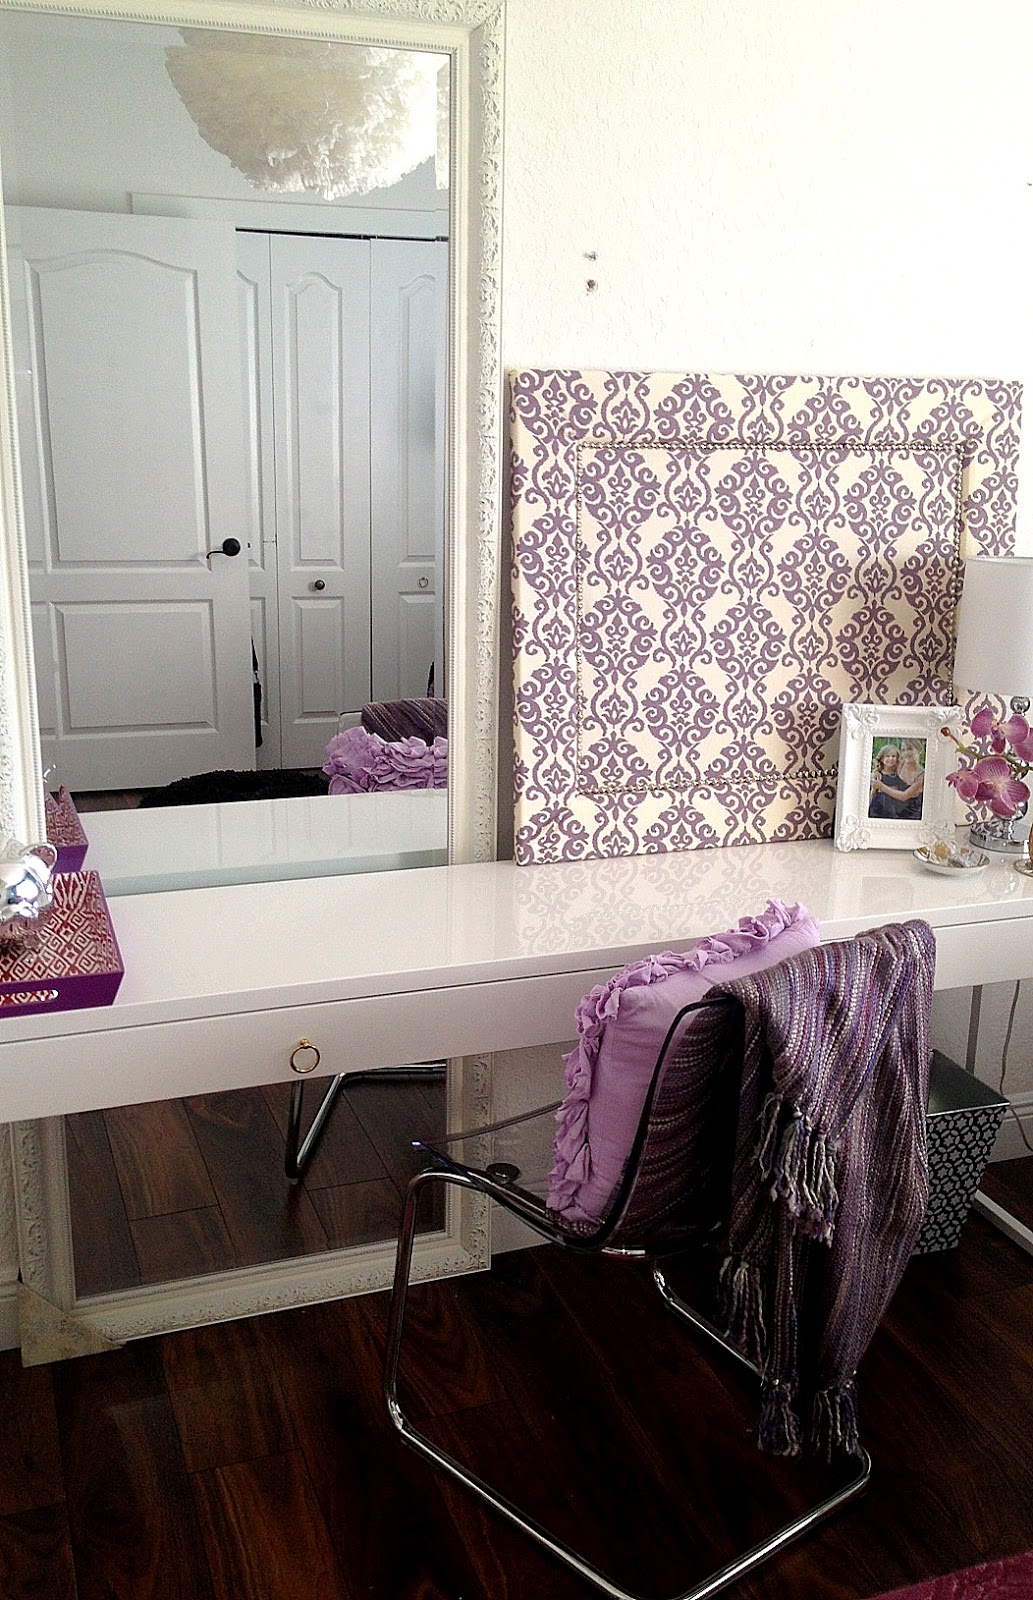
It is so simple. Here are a few progress pictures in the room.


The end result is beyond stunning, and once the walls are painted (coming soon) it will really stand out. I also love the touch of designer fabric that this brings in to the room, but with minimal cost. I had some extra fabric from the trimming and will be showing you my DIY banded pillows that I am using it for with a tutorial soon. So exciting!
What do you think of this DIY project? Trust me when I say that this is one ANYONE can do!!!
Enjoy your weekend~
One of the things that I am constantly searching for when doing kids rooms is finding fun and creative ways to eliminate clutter. As I've said before many times, I hate clutter! The balance is finding ways to display and conceal all the things that kids have, and today's post is about just that!
I completed the EASIEST and QUICKEST DIY project ever and I couldn't be happier. Seriously, this one packs so much style and it was so easy. It takes less that 15 minutes to complete.

Here is a step by step tutorial on how to make your own upholstered cork board.
What you'll need:
-Cork Board
-Fabric of choice cut with about 2" around on all sides. **I used the Waverly Modern Essentials in Lilac from Joanne's which was 40% off and paid $11.00 for 1 yd.
-Spray adhesive
-Nail Heads. I used the connected nail heads which made a very even clean straight line. You can use individual nail heads or even silver thumb tacks, but you will have to apply them one by one and you will have to make sure they are really straight.
-Staple gun or hot glue gun
-Scissors
Step 1:
Start with your cork board making sure to remove everything ;). Here was the one I started with.

Step 2:
Lay your board on the fabric to figure out where your placement is with your fabric or if you want a specific design to be centered, then spray your adhesive all over the cork board and the frame.

Step 3:
Lay your fabric over your cork board and smooth away all the lumps on the actual cork and pull it over the frame of your board.
Step 4:
Start to place your nail heads along the inner cork board against the frame. I secured a nail head in each corner to make it extra tight.

Step 5:
Turn your whole board over laying face down and staple it along all edges pulling the fabric taught as you go along. Then trim your excess fabric off your board. **If you don't have a staple gun you could use a hot glue gun.

FINISHED!

It is so simple. Here are a few progress pictures in the room.


The end result is beyond stunning, and once the walls are painted (coming soon) it will really stand out. I also love the touch of designer fabric that this brings in to the room, but with minimal cost. I had some extra fabric from the trimming and will be showing you my DIY banded pillows that I am using it for with a tutorial soon. So exciting!
What do you think of this DIY project? Trust me when I say that this is one ANYONE can do!!!
Enjoy your weekend~


No comments:
Post a Comment